Raspbwich
Introducing The Raspbwich — a practical, attractive, and fun case for the Raspberry Pi computer.
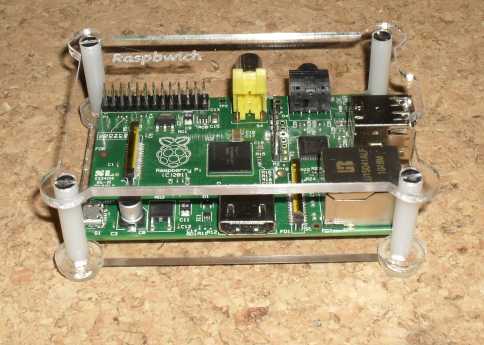
The Classic Raspbwich
Simple and elegant, an instant classic.
Ingredients
- 1 Raspberry Pi
- 2 Slices of crystal clear acrylic
- 4 Stainless steel screws
- 4 Support posts
- 4 Clear bumper feet to garnish
Method
You will need a suitable screwdriver and a clean flat surface to work.
- Place the base slice on the surface in front of you.
- Divide the supports and the screws in half, reserving one half for later.
- Push the screws through the holes in one side of the top slice until their heads sink below the top surface.
- Pop the supports on to the screws.
- Carefully align the screws with the holes in the base and loosely tighten with the screwdriver until the opposite side rises.
- Slide the Raspberry Pi into the pocket produced between the top and base slices and push until it touches the supports. Rotate the supports as necessary to ensure a firm fit.
- Slide the reserved supports into place.
- Insert and loosely tighten the remaining screws.
- Rotate any supports as necessary and give all of the screws a few more turns, until firm.
- Finally add the feet, one in each corner.
- Serve and enjoy.
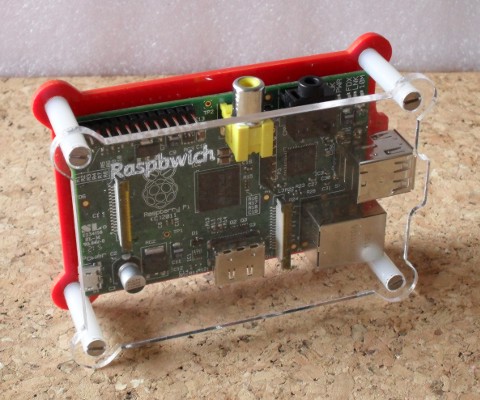
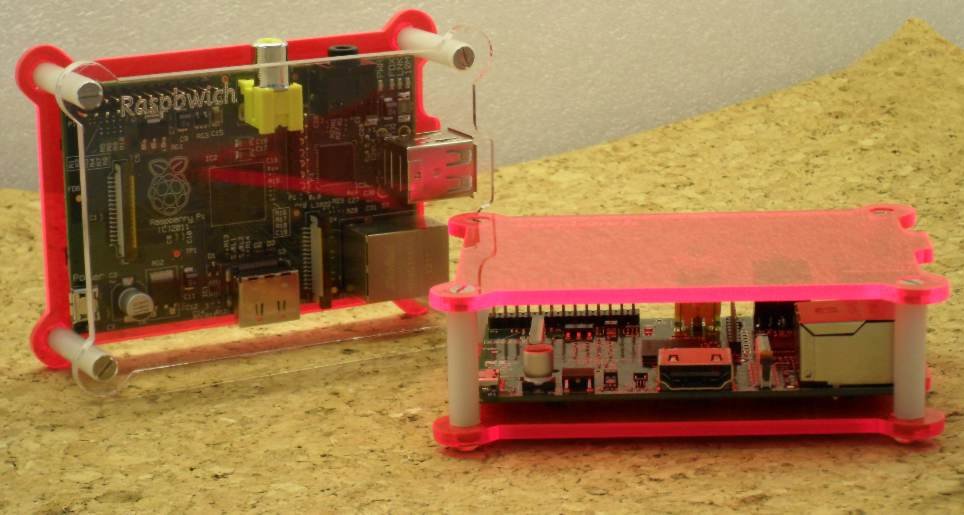
Variations
For a change, why not try one of these fantastic variations?
- Spice things up by substituting a brightly coloured slice for the base.
- Add a new twist by serving on its side.
- Double up on the ingredients and serve stacked to make a double-decker Raspbwich — for when one just won't do the job.
- For a lighter option, substitute one — or both — slices with fluorescent ones.

Chef's tip
Convenient ready-to-go packs of most of the ingredients are available from Raspbwich.com stockists — just add Pi.
All trademarks are acknowledged. All content © Copyright 2012-2019 Raspbwich.com